Cooking involves a lot of frying and grilling that generate smoke and oil particles. If your kitchen does not have an air exhaust system, these tiny particles form a greasy layer on your kitchenware and walls that can make the space look untidy. In such a situation, using an auto-clean chimney is the best option for you. The chimney filters and inner walls trap all the unwanted smoke and grease produced from cooking. Ultimately, chimneys help in maintaining pleasant odor and fresh air in the kitchen area.
The best kitchen chimneys are easy to use, and anyone can operate them after knowing the safe operating procedure. In this article, you will learn about the different uses of kitchen chimneys, the proper ways to use them, and practical tips to operate them flawlessly by avoiding any problems.
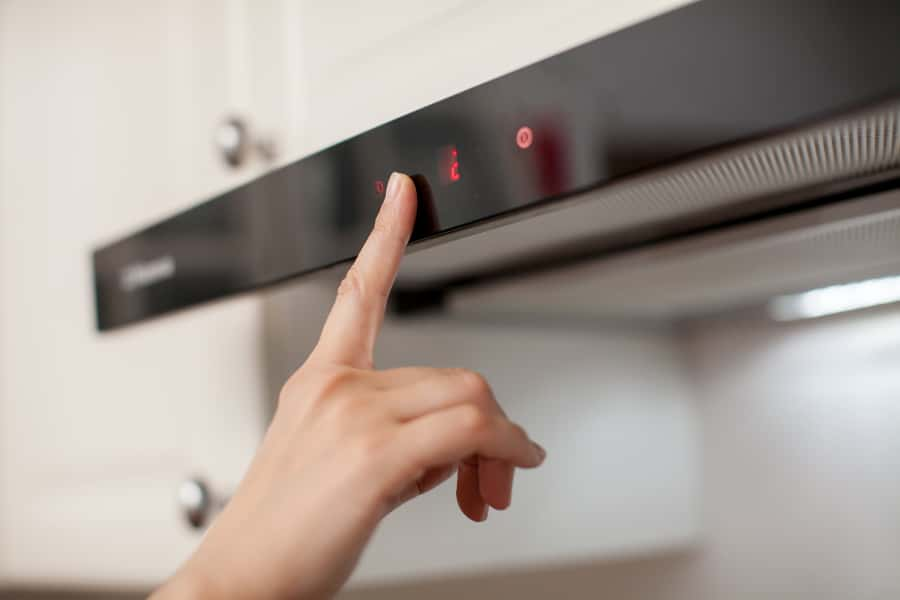
Benefits of using a chimney in the kitchen
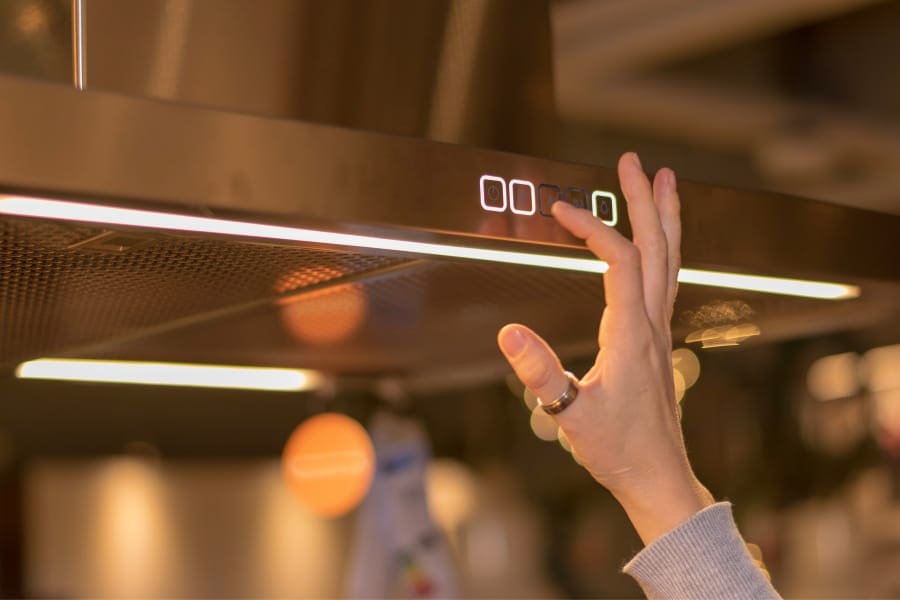
How does the kitchen chimney work?
Different types of auto-clean kitchen chimneys work on different principles. You will find mainly two types of chimneys based on the mechanism- duct chimney and ductless chimney.
A duct or ducted kitchen chimney sucks the smoke utilizing a powerful motor installed inside the housing. For baffle filter chimneys, the air passes through the filter, where the grease particles are trapped. Then the remaining air passes out of the kitchen via the duct installed at the outlet.
For filterless auto-clean chimneys, the air is removed without passing it through the filter. As a result, filterless chimneys never get slow at suction which is a common problem of baffle filter chimneys. For this reason, filterless chimneys are better than baffle filter chimneys.
However, in the case of a ductless chimney, the working system is different. Here, the smoke and particles are trapped by a baffle filter which then goes to a series of mesh and charcoal filters. Here, the mesh filters capture the remaining oil particles, and the charcoal filter absorbs the bad smells. Finally, the clean and refined air is recirculated back to the kitchen.
Ductless chimneys rely more on the filtration process, and the filters get clogged sooner than standard ducted chimneys. Because of the convenient working method and operating procedure, ducted chimneys are preferable to ductless chimneys.
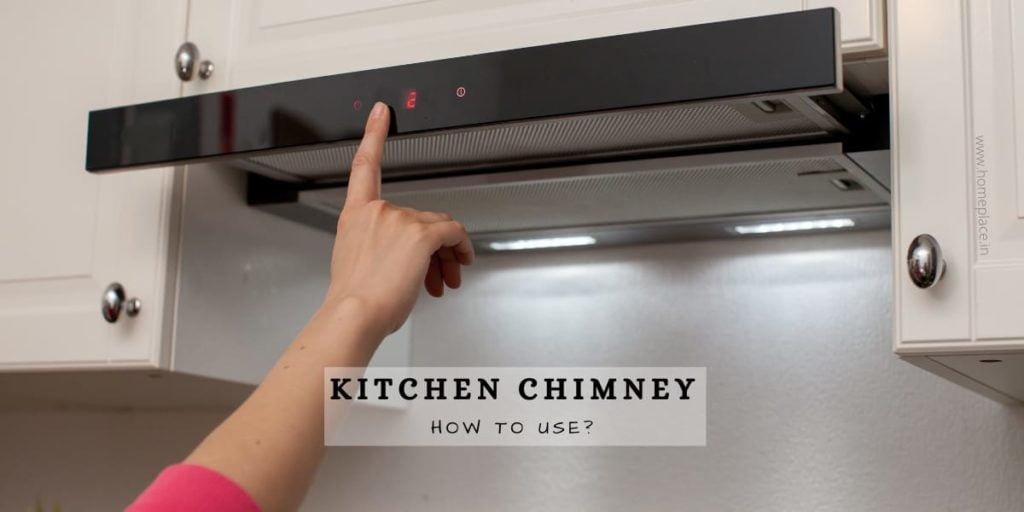
How to use a kitchen chimney?
Time needed: 6 minutes
Using a chimney in the kitchen is pretty easy if you know the correct method. If you have already bought a chimney or are planning to buy one, this step-by-step process is crucial for operating the machine safely and efficiently. Let’s check it out!
- Close The Kitchen Windows
Kitchen chimneys cannot suck the air properly if there is an abrupt external airflow that can deflect the smoke from its suction path. Closing the windows in your kitchen will help you achieve that. Otherwise, you will soon notice layers of grease on the walls nearby the chimney. So, close the kitchen windows before proceeding to the next step.
- Switch Your Chimney Prior You Start Cooking
Before starting the cooking process, turn on the chimney from the main power supply. Then, power it up from the control panel present on the front side. Make sure of no abnormal noise and vibration.
- Set The Appropriate Suction Power
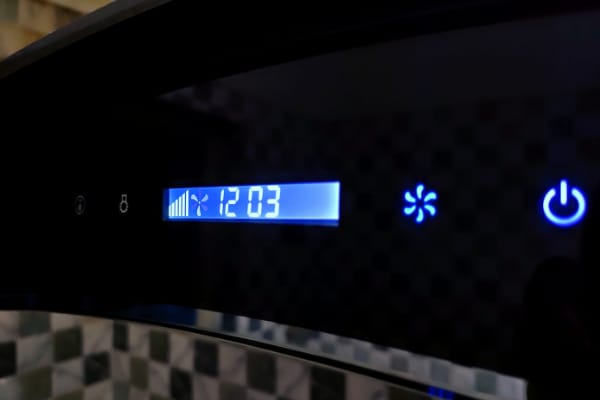
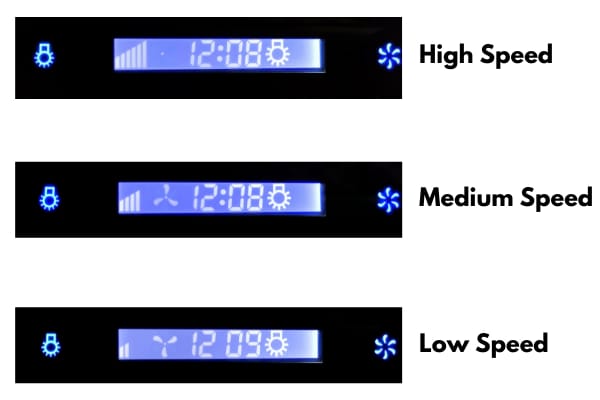
After you switch the chimney, you have to choose the correct suction power of the chimney. This is useful because the generation of smoke greatly depends on the recipe. For example, if you are frying or grilling, you need more suction capacity than boiling or making curry. Kitchen chimneys usually have 3 speeds- low, medium and high, which you can control from the operating panel.
- Control The Other Options As Per Requirement
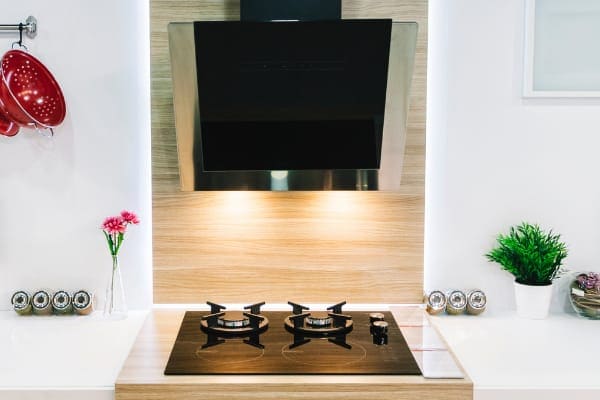
Kitchen chimneys are usually available with any of the 3 types of control systems- push button, touch panel, and gesture control panel. While push buttons are based on old technologies, touch, and gesture controls are more modern and user-friendly. Apart from the speed control settings, you can also turn on the LED lights if you need to illuminate the cooking space.
- Set A Timer On Your Chimney
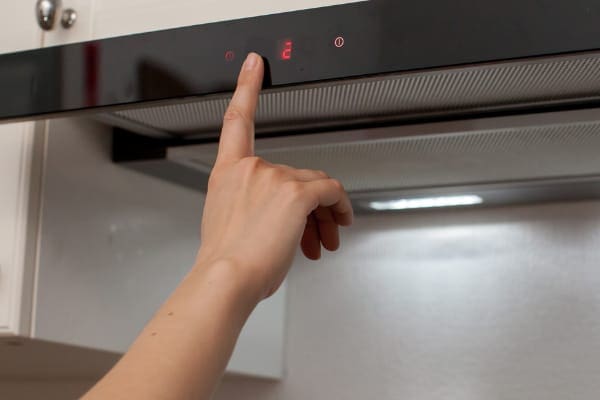
While traditional kitchen chimneys do not have the option to set a timer for cooking, some latest models include a timer in their designs. There is usually a plus sign indicator to increase the time and a minus sign indicator to reduce the timer duration on the control panel.
- Switch Off The Button When Cooking Completes
Once you complete the cooking process, leave the chimney turned on for at least five minutes to allow it to suck the remaining smoke from your kitchen. Turn off the chimney from the control panel and the main power supply when the kitchen air is clean.
This guide will help you to use your kitchen chimney properly. Some steps may vary depending on the models, brands, and types of kitchen chimneys you use.
Tips for using a kitchen chimney properly
A kitchen chimney is a true savior that helps us to keep the kitchen clean and fresh. Using a kitchen chimney will not be difficult now. Follow the above steps properly and use your chimney safely and efficiently at your home.
